


Tips For Decorating A Christmas Mantel!
- Lori Siegel

- Dec 7, 2021
- 2 min read
Decorating my mantel for Christmas is something I truly enjoy. However, this wasn't always the case. In the past, I would haphazardly gather my Christmas decorations and start without a clear direction. I would get frustrated because it took so long to find things and I wasn't sure what I wanted to do. Basically, there was no plan, which was not an effective way to do anything, let alone decorate. The best advice I can give from my mistakes is to determine a direction and make a plan.
This year I have opted for neutral tones and natural elements. By gathering all the necessary items beforehand, I managed to complete the mantel decor in a short period of time and really savor the process.
Let's get to it!


When decorating my mantel, Christmas tree, banisters, and other areas, two essential items for me are greenery twist ties and removable hooks. The greenery twist ties are used to secure the garland, hold the picks and ribbon in place, while the hooks prevent the heavy garland from slipping off the mantel.


Before I started, I cleaned the mantle and removed the bowl. My next step was to join two garlands using twist ties. I secured the garland in place by attaching a hook at each end and in the center of the mantel, and then positioned the garland. Making sure to drape it over each side of the mantle.
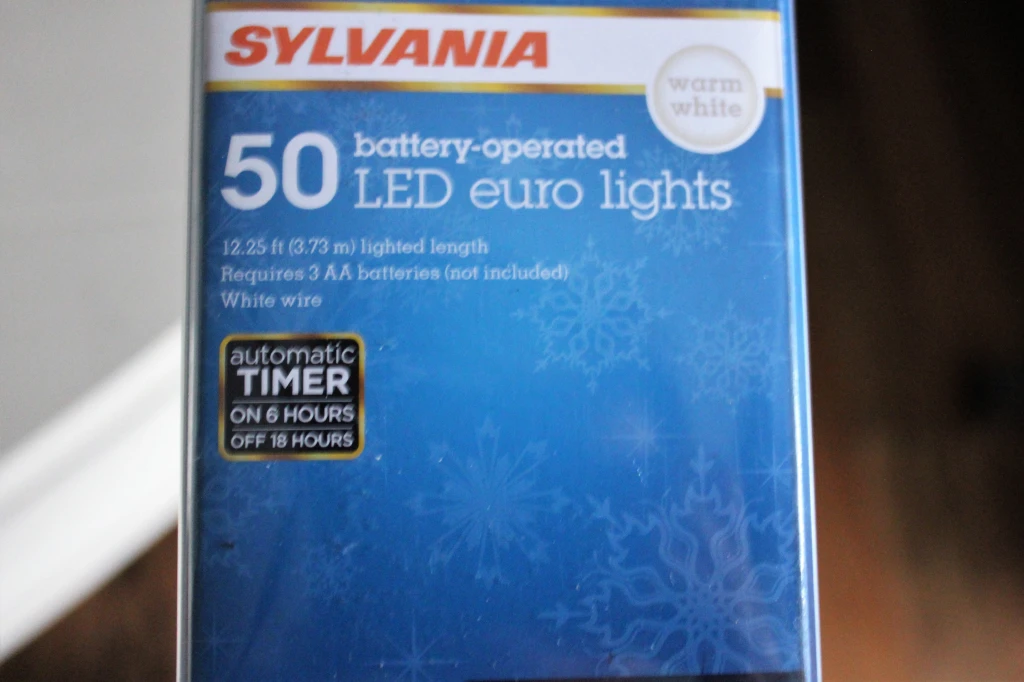


After placing the garland, the next step was to add lights. I prefer using battery-operated lights for the mantle to avoid dealing with power cords. I wrapped the cord around the garland, securing the lights with twist ties every few inches.


Now it's time to begin adding all the decorations, which is when the fun part begins.
These items can be expensive, so I opt for larger picks then separate them using wire cutters into multiple stems. I repeated this process with the pinecones and made two or three picks from each stem.
To add even more texture and interest, I purchased two types of ribbon. One was a very tactile mesh with white paint and sparkles, and the other ribbon was beige linen.


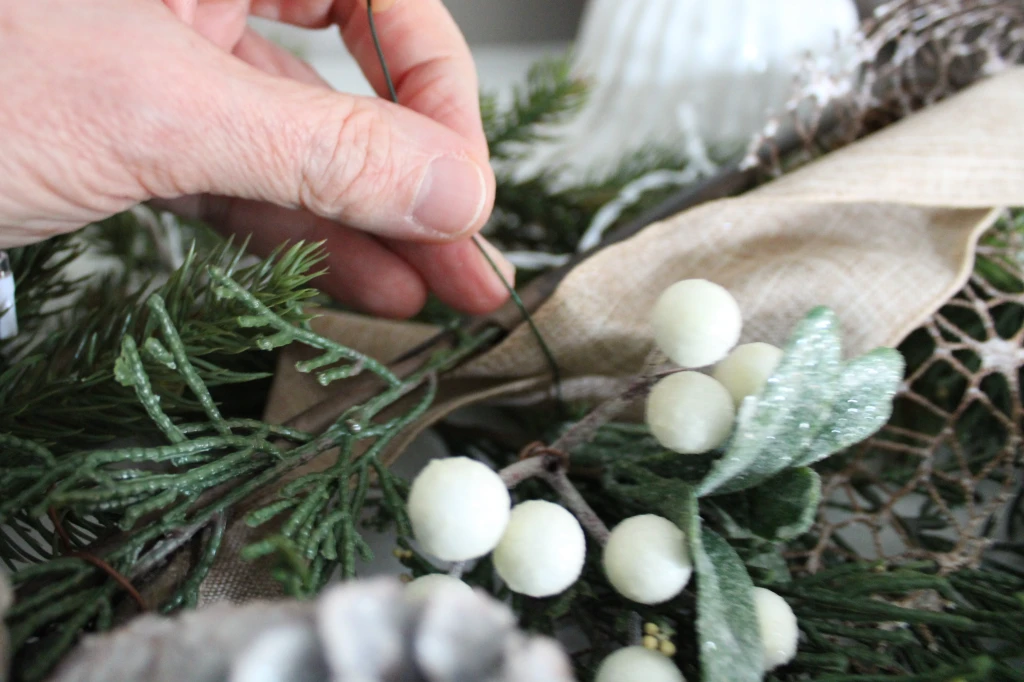


To begin, I added pinecone picks and secured them in place with floral wire. Next, I intertwined the two ribbons and twisted them among the greenery, using floral wire to attach them wherever I wanted to create a dip. To create the focal point of the arrangement, I placed two smaller picks along with two of the pinecone swags. Lastly, I made bows out of the remaining beige linen ribbon for each candlestick, embellishing them with greenery and white berries for a final touch.


I love the way it turned out! Best of all, it took less time and caused no frustration, all because I had a plan.
If you enjoyed this post, please give it a "like" and subscribe to receive new posts as they are created.
Products used:
Ribbon and Picks were all purchased t Micheal's


Comments