


Good Will Filing Cabinet Transformation Part One!
- Lori Siegel

- Apr 1, 2023
- 2 min read
I am in desperate need of a filing system. I have papers that are currently being stored in a plastic bag (no judging, please). It is annoying when I am trying to find something, and it takes twice as long as it would have if it were neatly filed away.
I decided it was time to get a filing cabinet and get organized!

I started looking around for wooden stylish cabinets, but they were too pricey which left me with metal filing cabinets. Even metal filing cabinets like the one above was priced at $400. I don't even like metal filing cabinets they are tinny sounding and usually come in either beige, gray or black.


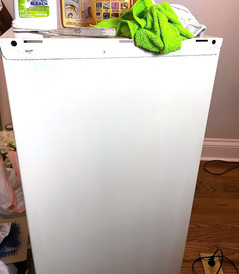
However, the decision was made when I found a metal filing cabinet at Good Will. It was a mess on the outside, but the drawers were intact and worked well, and the cost was just $2. My thoughts were, for $2, I could try to make it a little more appealing, and if it didn’t work, it was only $2.


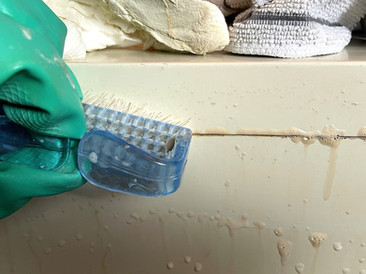

As I stated above, the outside of the cabinet had seen better days, with rust, a dark substance, and stickers on the front of the drawers it was in need of a good cleaning. To tackle this problem, I used a cleaner containing bleach, as well as a rust and glue remover (a list of all products used will be provided at the end of the post).
The first step was to remove the stickers in order to clean the rest of the cabinet. I applied the glue remover on top of each sticker and allowed it to sit. After a few minutes, I used a putty knife to easily remove them.
Next, I dealt with the rust stains and dark substance; although it required some effort, I was able to remove those stains as well.


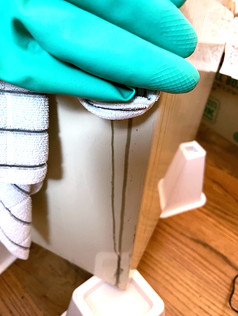
Now that everything is clean, I wanted to try and do something about the drawer pulls. They were too industrial-looking for me. I decided to try filling them with a bonding agent. I glued a piece of wood inside the handle so I would not have to use so much of the agent. While I was at it, I removed the lock, placed a piece of cardboard on the back and then filled it with the bonding agent.
It worked like a charm. You could not even tell that the handle or lock had been there.
Finally, I painted the entire cabinet with primer getting it prepped for what's up next.
Be on the lookout for Metal Cabinet Transformation Part Two!
If you enjoyed this post, please give it a "like" and subscribe to receive new posts as they a created.
Products Used


Comments