


DIY “Dollar Tree” Christmas Gnomes!
- Lori Siegel

- Nov 16, 2021
- 2 min read
Updated: Sep 2, 2024
This week is all about fun projects! I made a gnome and a snowflake ornament using items from Dollar Tree. Not only are they simple and fun, but they would be great to do with kids.
Let's see what I did:

I have seen Gnomes (Pottery Barn) like this everywhere it's what gave me the idea to try and make it myself.
I found a video online on how to make Gnomes and gathered all the materials I would need.


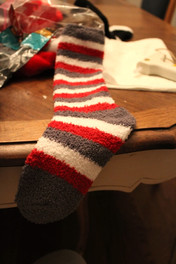
The gnomes' bodies were made by filling clear treat bags (Dollar Tree) with wheat flour and stapling them shut. Then, a sock (Dollar Tree) was placed over each bag.


Next up creating personality.
I grabbed a second sock, cut off the bottom portion, and attached the upper part to the gnome's body using a glue gun. Next, I added a half-round wooden piece for the nose and braided twine (Dollar Tree) to create hair. To make shoes, I took large round furniture pads and glued on cardboard for the shape. After drying, I painted them black and added a festive bell. Lastly, with another sock and pom-pom from a Santa hat purchased at the Dollar Tree, I made a Tuque.
How cute is she!


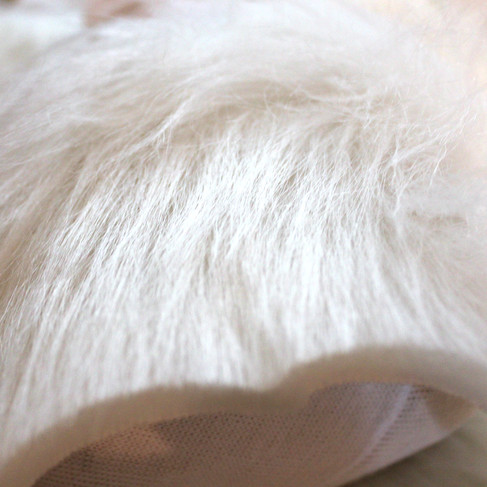


I continued on to make two more Gnomes. Starting each by following the same steps as before to create the bodies. I decided to give this Gnomes beards, one white the other brown. After cutting the fur to size, I hot glued it to the body. Once it was dry added noses. The white bearded Gnome's hat was made from part of a sweater sleeve I purchased at Goodwill which I added navy pom-poms to. The hat for brown beard was actually a Santa hat that I deconstructed using the brown fur trim his beard and taking the other part and sizing it to his head.
Once they were all done, I felt they needed arms, for the girl I glued them to her sweater for the boy's I attached them from under their hats.


Waiting for Santa to come and give them a ride!
If you enjoyed this post, please give it a "like" and subscribe to receive new posts as they are created.


Comments